Introduction
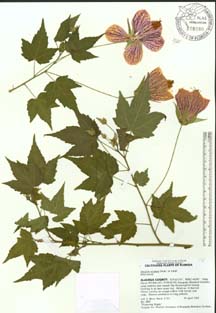 A herbarium specimen voucher is usually a pressed, mounted plant sample with collection data deposited for future reference. It supports research work and may be examined to verify the identity or study other elements of the specimen. A voucher specimen must be deposited in a recognized herbarium committed to long-term maintenance. More information on herbaria may be found in our web document “Herbaria and Herbarium Specimens.”
Why is voucher material needed? Scientific research relies on documentation for future reference. This allows the material to be available for additional studies or reviewed (e.g. in case of misidentifications). Without vouchers, research cannot be corroborated and additional projects often cannot build from earlier botanical research. The wealth of knowledge accrued about plants in the world (e.g. number of species) is much due to herbarium specimen vouchers.
These steps will help the researcher produce quality specimens acceptable for deposit in a herbarium.
Initial Preparations
Planning for the preparation of voucher specimens is crucial.
- Target your collection locations and date periods to obtain useful specimens. Existing herbarium specimens and published research should be of help.
- Obtain collection permits from appropriate agencies (this can take months to over a year). An understanding of export and import regulations should also be considered for international work.
- Establish official contact with government, herbarium, and research personnel in the area you will be working. This is required by law in most countries.
- Make arrangements with a herbarium to deposit your specimens. The University of Florida Herbarium has a Collection Acquisition Checklist for Collectors to help you understand the process.
- Assess and purchase collecting equipment and supplies: consider what you will need to prepare the specimens, e.g., plant press, plant drier, pruning shears, shovels, pressing papers, markers to write on the pressing papers, etc.
Pressing and Drying Plant Specimens
 Specimen samples are pressed in a plant press and dried on a plant dryer.
Each specimen sample should attempt to maximize the information content with the size of a standard herbarium sheet (ca. 40 x 30 cm). A typical, ideal specimen should consist of a stem with attached leaves and, if at all possible, flowers and/or fruits. The roots or rhizomes of herbaceous plants should be included. Pieces should be selected to illustrate to the greatest extent possible the overall characteristics of the plant and the range of variation in flowers, leaves, and other structures.
Quality specimen data is essential. Take detailed notes in the field. Do not trust your memory for this information!
Assign a unique collection number for each collection. One collection number is assigned for a taxon collected at a single location at a single time. For example, one collection number is assigned for the collection of multiple branches from a woody plant or multiple individuals of herbaceous plants growing together in a colony. This is defined as a Darwin Core Occurrence. Use care to be sure all material collected is actually the same taxonomic entity. Never use the same number twice, even if you go back to the same location to collect the same plant again at a later date or cultivate it in a greenhouse.
Data for each collection should be entered in a field notebook (see discussion of label data below) and the number should be written on the folded paper containing the specimen. If ample material is available, a minimum of two specimens should be pressed for each collection, especially if collecting in a region where the flora is poorly known. When multiple specimens are made from a taxon with the same collection number (collected at the same place and time), these are referred to as duplicates. Duplicates can distributed to other institutions to share knowledge and resources.
An ethical collector will insure that his/her collecting activities do not pose a significant threat to the survival of endangered species or habitats. Ethical herbaria will only accept legally collected specimens. See Florida Plant Collecting : Regulations and Permitting for some guidelines on collecting in Florida. Generally, <5% of the biomass of any one population should be collected.
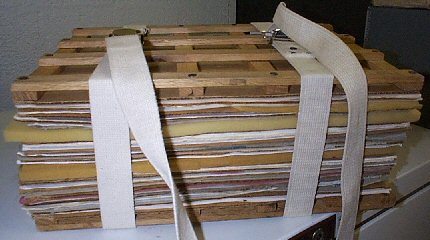
The plant press consists of a frame (typically wooden, for rigidity), corrugated cardboard ventilators (to allow air to flow through the press and as structure to flatten the plants), blotter paper (to absorb moisture), and folded paper (typically a fold of newspaper to contain the plant material). The plant press is tightened using straps with buckles or bolts with wing nuts. The objective of pressing plants is to preserve the morphological integrity of the plant, while quickly but gently removing moisture to yield material that can be easily mounted on herbarium paper for long-term storage and subsequent research applications.
In order to fit on a standard herbarium sheet, a plant specimen should be pressed flat to the dimensions of ca. 30 x 40 cm. Long stems may need to be folded or bent to fit this area, but take care to minimize plant parts overlapping. Especially large parts may need to be cut to fit onto multiple sheets (e.g. a palm leaf might be mounted on up to ten herbarium sheets). Several individuals of smaller plants may be pressed together on one sheet. Small loose pieces, such as seeds, should be placed in a small paper packet inside of the newspaper. Flowers, fruits, or stems can be cut and dissected to reveal the interior so they are viewable once mounted. Bulky parts such as large fruits, bulbs, or stems are often cut in half lengthwise or in slices prior to pressing. Extremely succulent material such as cactus stems or agave leaves may need to be sliced open and some of the fleshy interior scraped out (otherwise they may ferment, blacken, or become rotten whilst drying).
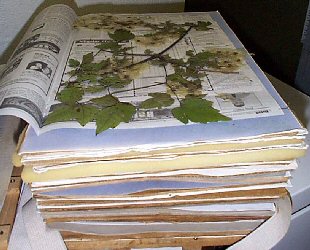 Care should be taken to make good specimens. Material should be pressed immediately upon collection to preserve the shape and morphology. Once cut, some plants begin to wilt immediately (e.g. many legumes) and the leaves or petals may fold or wrinkle resulting in poor specimens. Plants should be carefully arranged as they are placed in the press to maximize preservation of diagnostic features. Leaves, flowers, and fruits should be spread out so that they do not overlap too much and can be observed from different perspectives. The collection number should be clearly written on the outside of the folded paper containing each plant specimen. The plant press must be kept tight; this prevents shrinkage and wrinkling of the plant material and yields specimens that are easier to mount securely on herbarium paper.
Pressed plants must be thoroughly dried prior to storage and mounting. Best results are obtained with steady airflow and bottom heat between 95–120°F. Electric dryers are most often used, but in the field combustible fuel-based heaters may be used (see Blanco et al. 2006 and the Plant Specimen Collection and Pressing Bibliography). A low ambient humidity also promotes thorough drying of plant material. Some non-succulent material can be dried simply with a fan and low humidity, and no external heat source. As the specimens dry, it may be necessary to further tighten the straps on the press to minimize shrinkage and wrinkling. Rapid drying with gentle heat promotes the best plant specimens, but excessively high temperatures can result in blackened, discolored, and brittle specimens. Microwaves can destroy DNA.
Mounting and storage of specimens require a considerable financial commitment in the form of archival materials, labor, and storage cabinets. Herbaria may not accept specimens if the quality of specimens is unsatisfactory or if the herbarium lacks space and financial resources. Due to differences in mounting methodologies and materials, some herbaria may not accept already mounted specimens. Because plant classification is generally based on the morphology of flowers and fruits, in some cases sterile (non-flowering or -fruiting) specimens might not be accepted.
Identification of Plant Specimens
 The identification of plant specimens requires a considerable amount of time and effort. It is important to find out what research is being or has been done on the flora of the region where you are working. A thorough literature review and consultation with herbarium personnel will give you a good basis for starting the identification process.
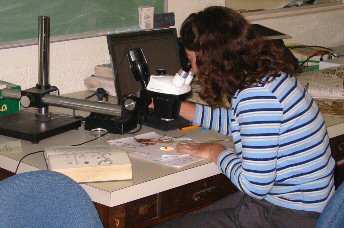
The identification of unknown plant material is accomplished with the use of dichotomous keys; published plant descriptions, illustrations and photographs; and comparison with properly identified herbarium specimens. A microscope is essential for the observation of many diagnostic features.
Regulations pertaining to collecting plants vary from country to country and state to state, so it is important for you to make official contacts well in advance. It is customary and may be required to deposit one full set of specimens in a herbarium in the host state or country. A local herbarium is the ideal place to begin your quest for identifications, as its collection may be the most comprehensive for the region. It may be possible to arrange to identify your plants and receive assistance from staff members at this institution. But, one must realize that the identification of even relatively common plants may be time-consuming. Most institutions run on tight budgets and do not have staff available to assist or supervise visitors. If you are able to provide financial assistance to a local herbarium, it will greatly facilitate their ability to provide assistance. Even if you are not able to identify your plants to species, you may be able to roughly group them by family or genus. This will allow you to seek experts in specific plant groups who may be willing to look at specimens in their purview. Experts in the flora you are working with may be interested in your collections and willing to give assistance. Your collections may, in fact, be helpful to their projects.
When submitting a plant specimen for identification, it is critical that the sample includes flowers and/or fruits and a portion of the stem with at least several leaves attached. Information of the plant’s growth habit, size, and the habitat where it is found (as well as any other features of the plant that may not be apparent from the sample, such as plant color or fragrance) often assist in the identification process. When submitting photos for identification, show a photo of the whole plant, close-ups of foliage, stems, flowers, and fruits. Be sure each photo includes a scale in the form of a ruler or coin. The photos should be accompanied by the same descriptive information provided with a pressed plant sample.
Herbarium Specimen Labels
A plant specimen is incomplete without label data. The data must be accurate and descriptive of the single collecting occurrence, and should meet Darwin Core standards. The following are important elements:
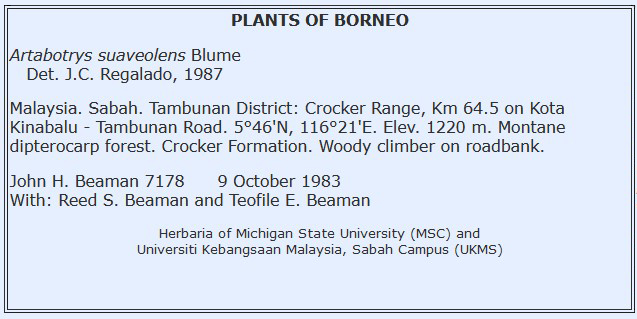
- Detailed location: country, state or province, county or municipality, and a description of the precise location in reference to permanent structures such as roads, road junctions, mile markers, and distances from cities and/or towns. Do not rely on referencing things that may change over time (e.g. the names of businesses, trails, etc.).
Provide the precise latitude and longitude, and elevation. Section, township and range, and/or UTM coordinates are sometimes used. For more information see: Best Practices for Collecting Geographic Data in the Field
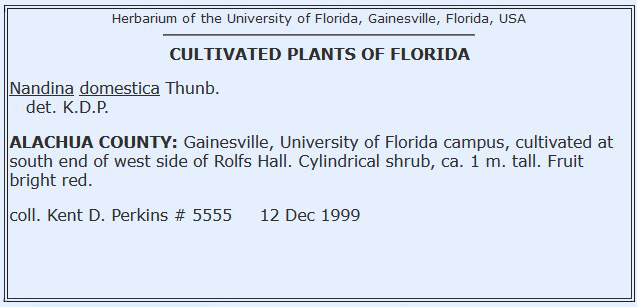
- Origin of material: the collection locality for a specimen is always the place where it is growing when you collected it (whether in the wild or in a cultivated setting). If you collect material cultivated in a greenhouse or botanical garden, the original source collection data for the material is quite useful and should be included, but clearly distinguished as the origin information. Flowering dates and growth conditions vary considerably when plants are taken into cultivation, especially into a greenhouse.
- Habitat: the type of plant community where the plant is growing and, if known, a list of associated species.
- Frequency: is the plant rare, occasional, frequent or common?
- Plant description: describe characteristics of the plant which are not evident or may be lost upon drying. This includes the plant habit (tree, shrub, vine, herb), height, growth form, color, smells or tastes, bark, branching, leaf orientation, or general volume/size/spread of a plant.
- Collector name: it is recommended that the collector be consistent and use their full first name, middle initial (if present) and full surname(s).
- Other collectors: other persons present with the collector
- Collection number: a sequential straightforward numbering system (1,2, 3, …) is preferable. Complicated schemes cause sorting and searching difficulties in databases.
- Date of collection: a format with the month spelled out or abbreviated and 4 digit year will prevent confusion. E.g., 3 May 2003. Do not use fully numeric schemes because various cultures order them differently, e.g. 3 May 2003 may be written out as 3/5/03 or 5/3/03 causing confusion (is this May 3 or March 5?).
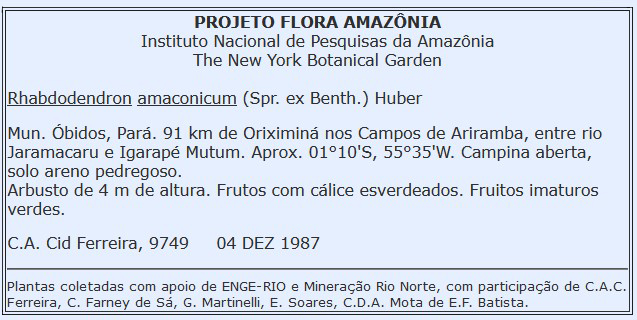
- Project information: the title of the project is important to cross-reference specimens with a project (researcher names, dates and bibliographic data may also be included).
- Permit information: should be included on the label so there is no doubt the specimen was legally obtained.
- Occurrence notes: include any information that may be useful to future researchers. E.g., the site was bulldozed or the tree was cut down.
- Scientific name: if known, the family, genus, species, infraspecies, and taxon authority. The identification does not have to be known to make the label. Many specimens are identified later, sometimes years or decades later.
- Determiner of the identification: the name of the person who identified the plant (esp. if someone other than the collector).
Label Examples
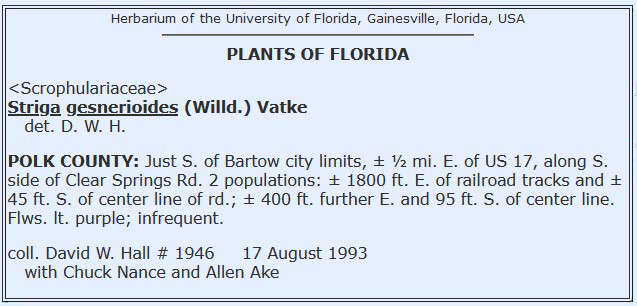
* Please note, label formats vary considerably. We currently recommend that determiner be paired with the identification. There are two standards to denoted multiple collectors and a collection number. E.g.:
- David W. Hall #1946 with Chuck Nance and Allen Ake – where the collection number is know to be that of David W. Hall and may be cited as David W. Hall #1946 but is sometimes also cited as: David W. Hall, Chuck Nance and Allen Ake #1946.
- David W. Hall, Chuck Nance and Allen Ake #1946 – where the collection number is theoretically that of the first collector but the number could also be a team number. This should always be cited as: David W. Hall, Chuck Nance and Allen Ake #1946. However, usually standard practice is that the number is that of an individual.
Links to More Label Examples
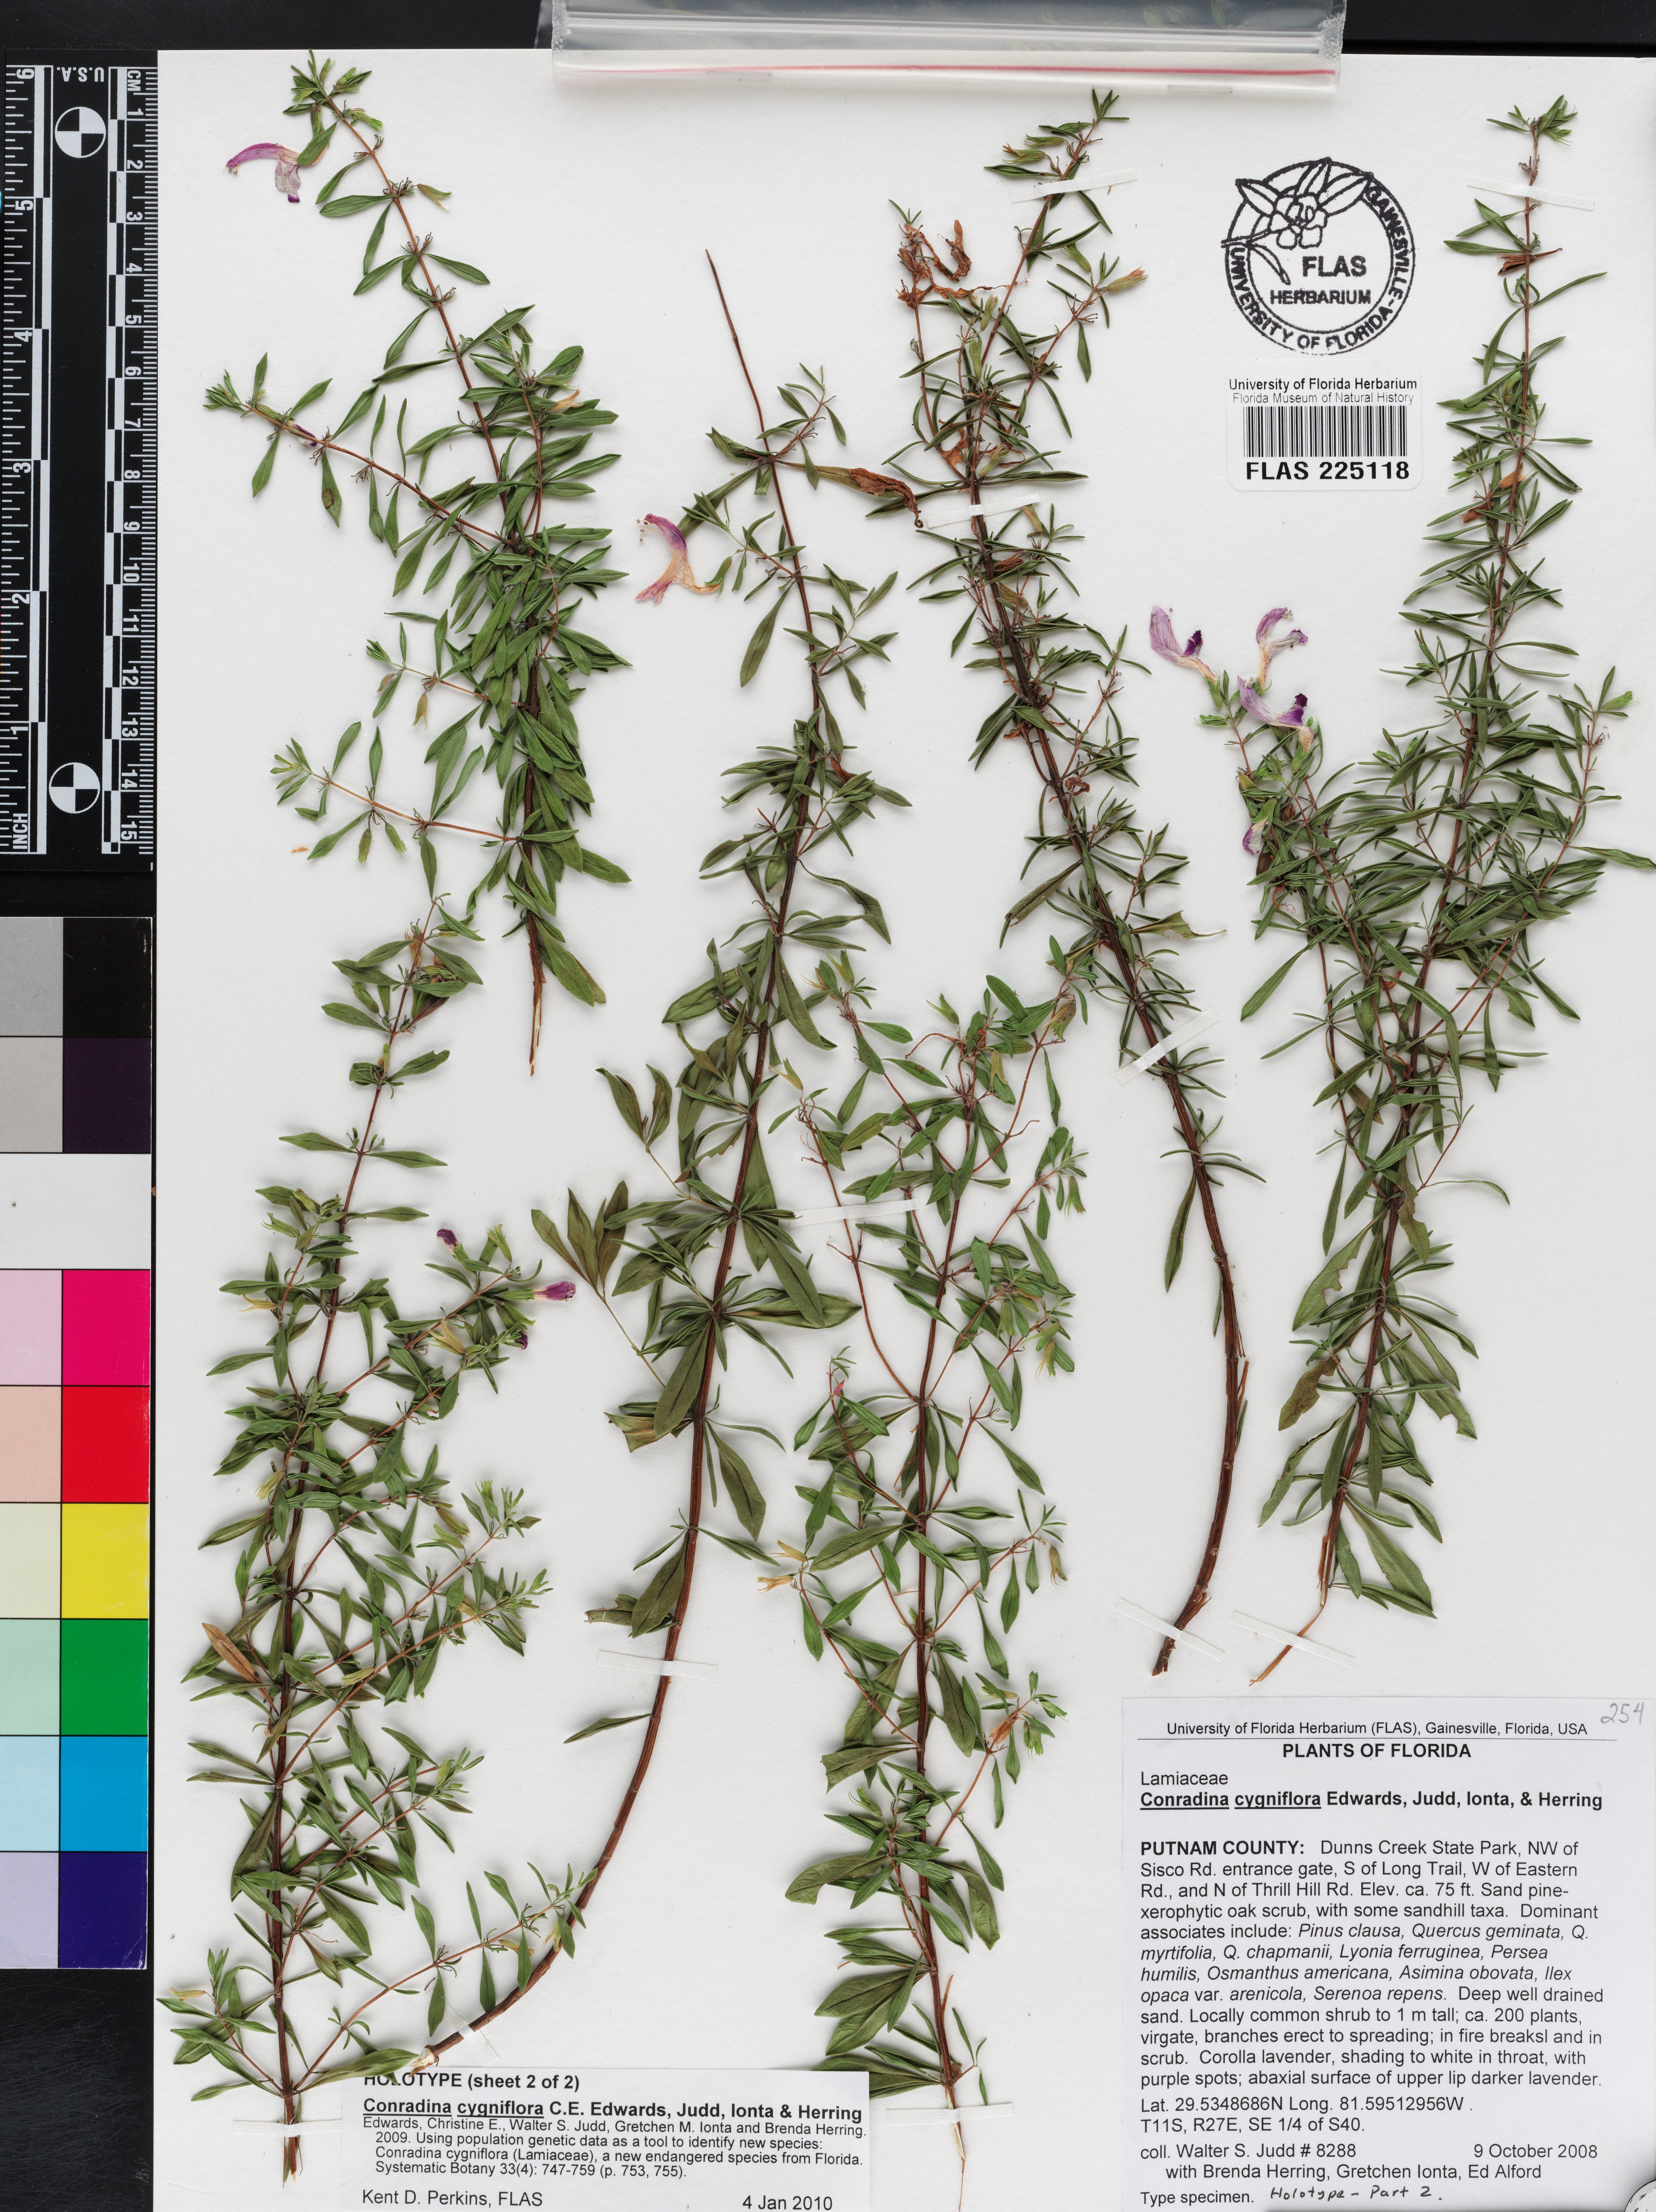
- Conradina cygniflora
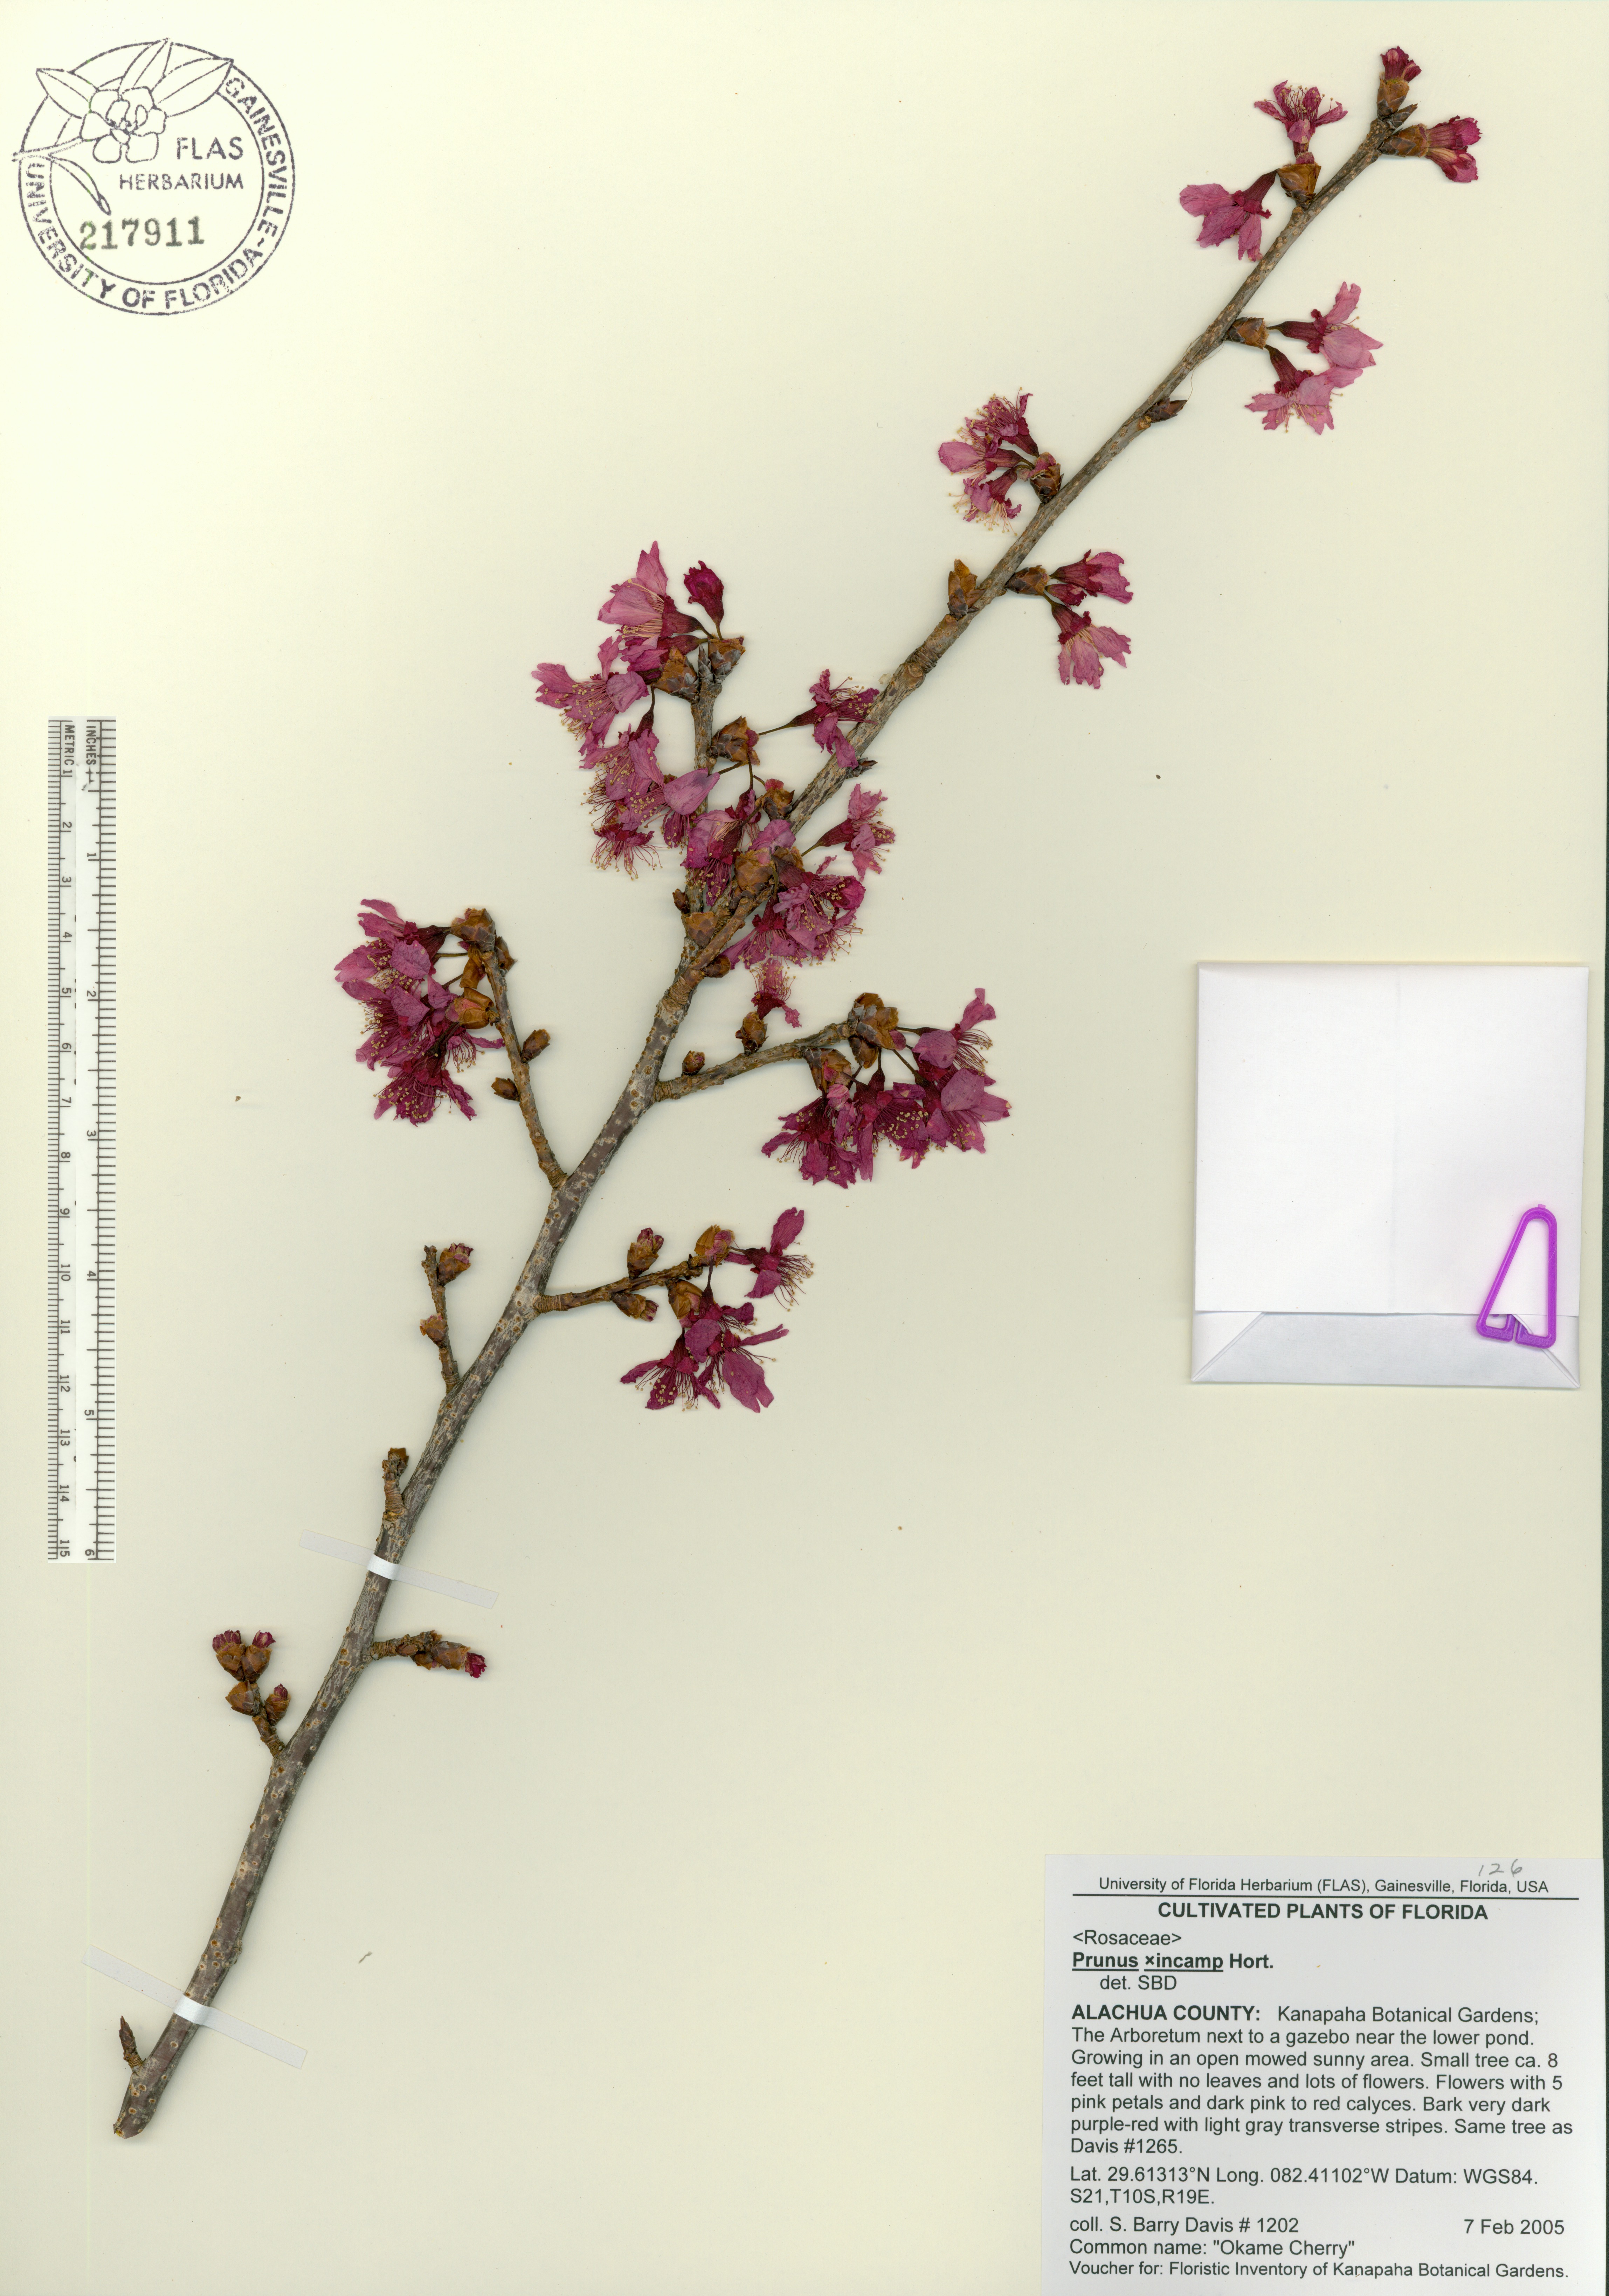
- Prunus x incamp, cult., Florida
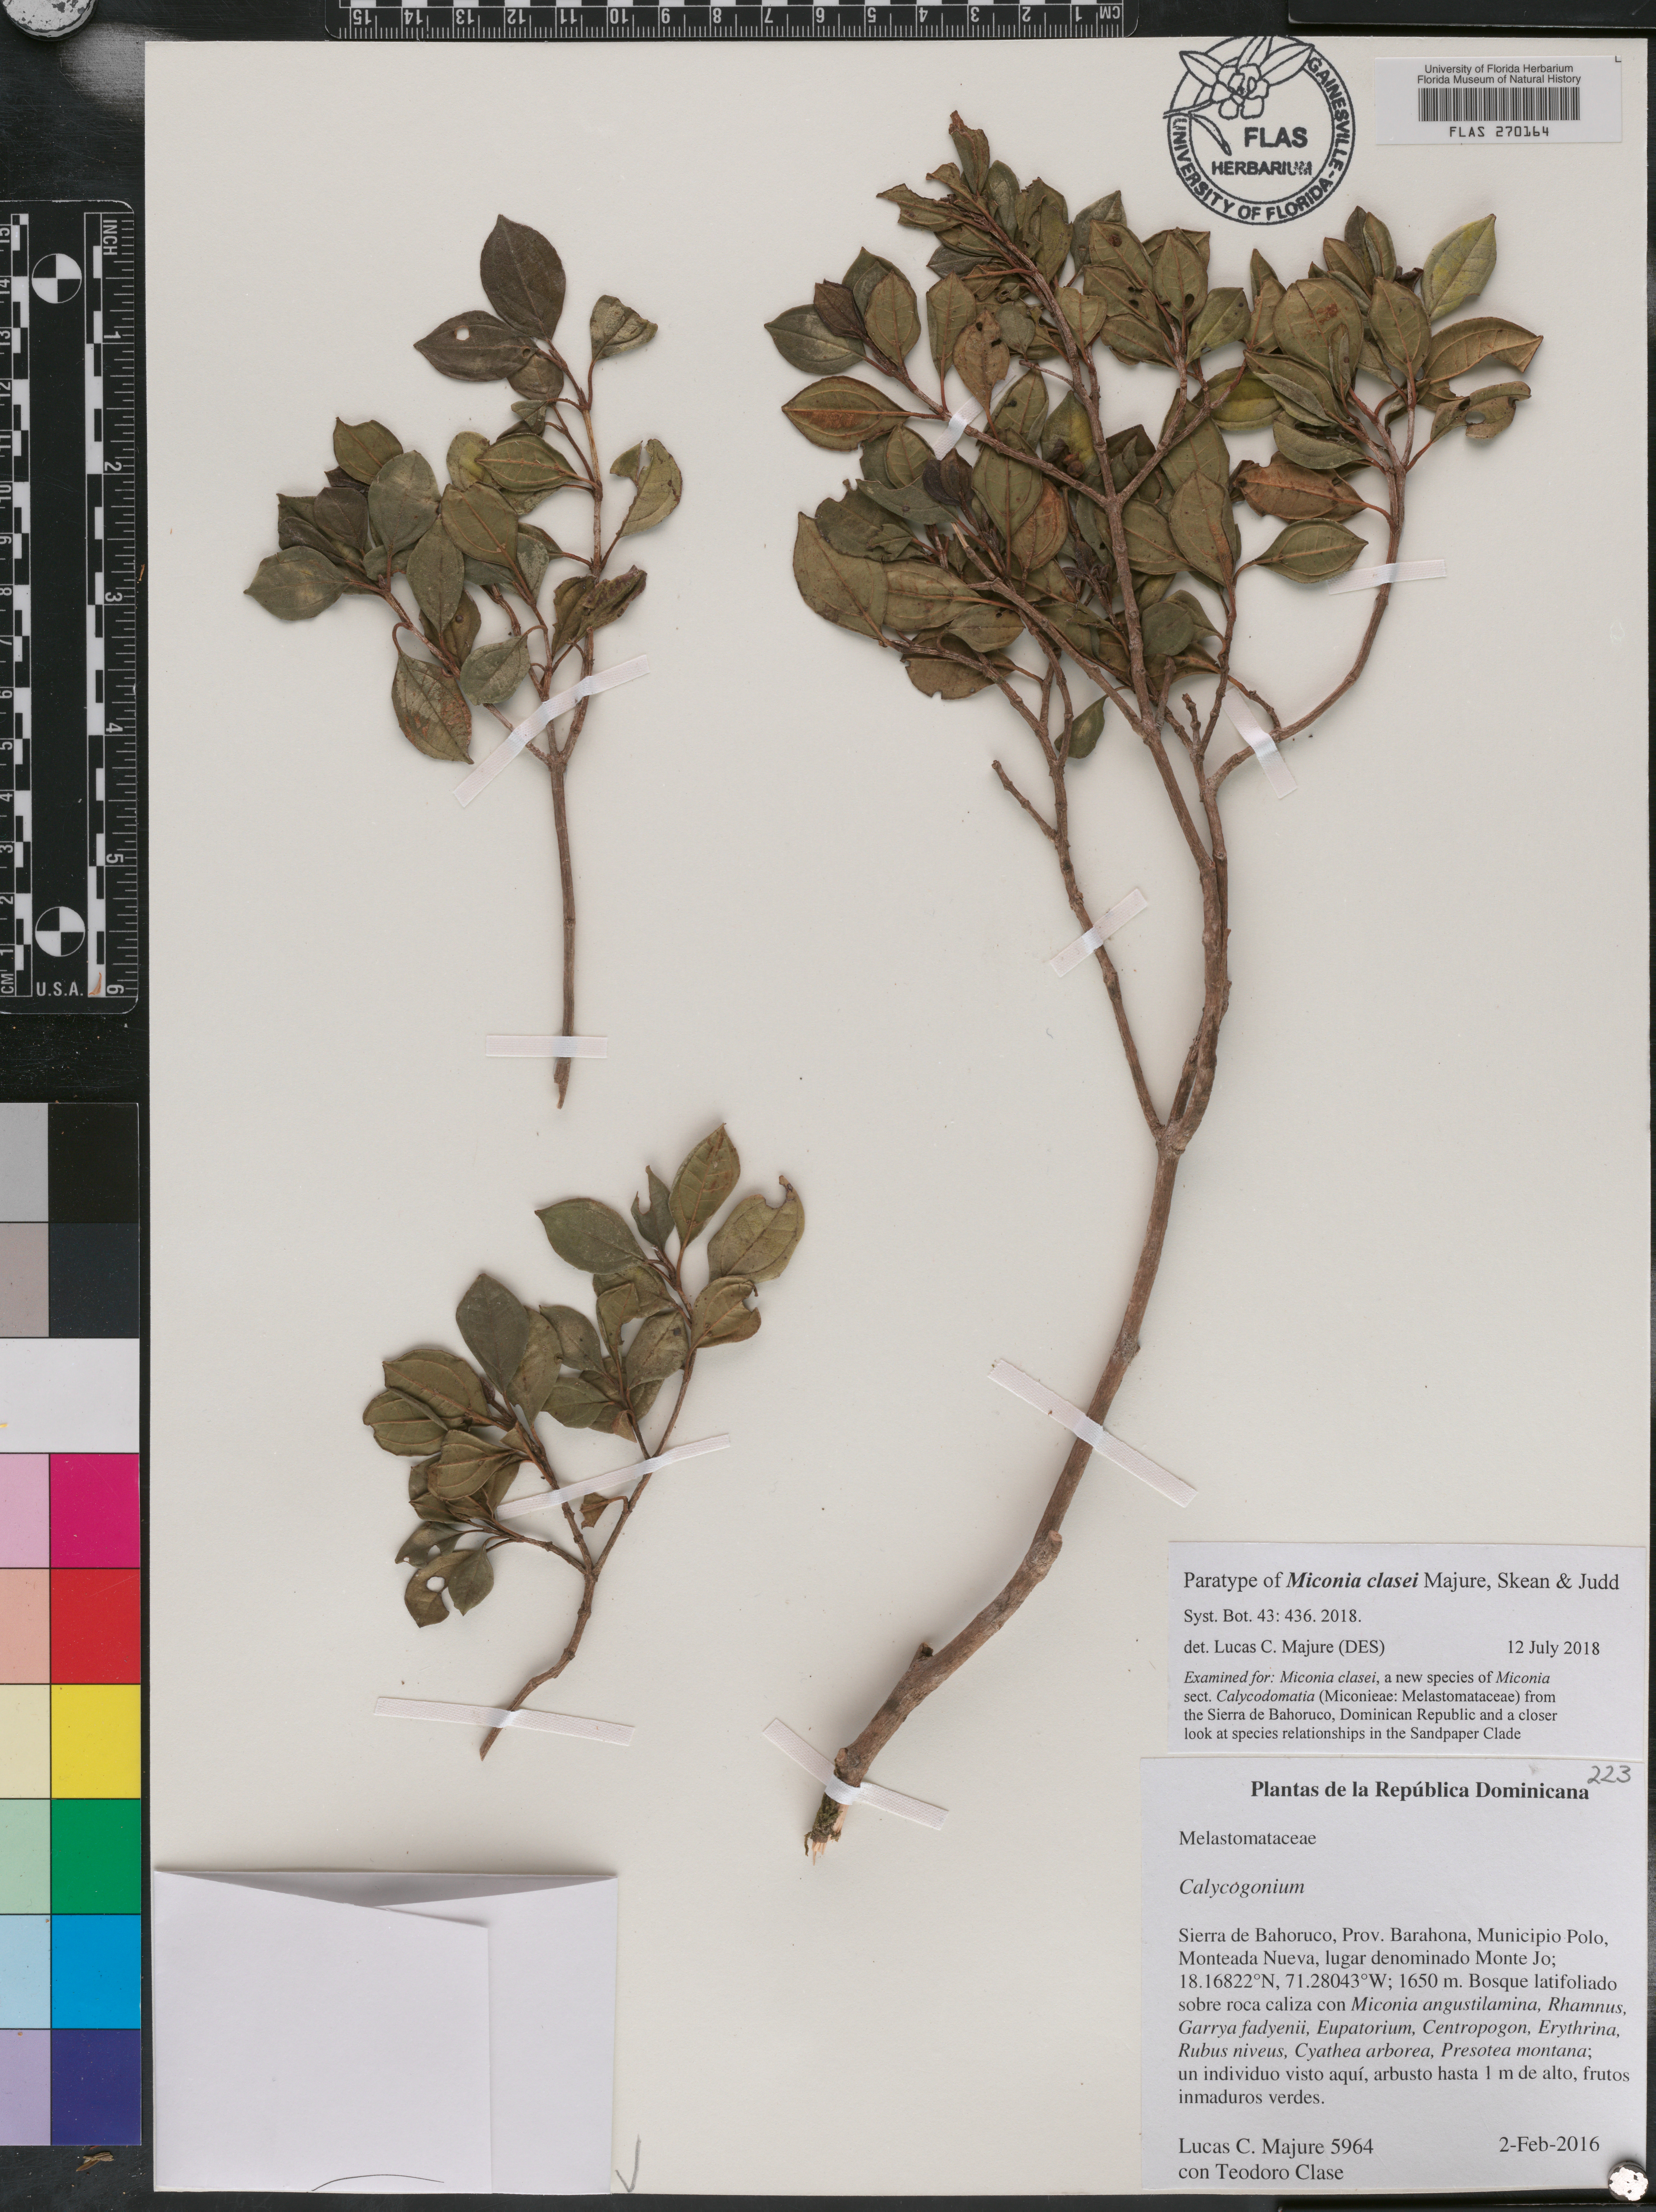
- Miconia clasei, originally identified as Calycogonium
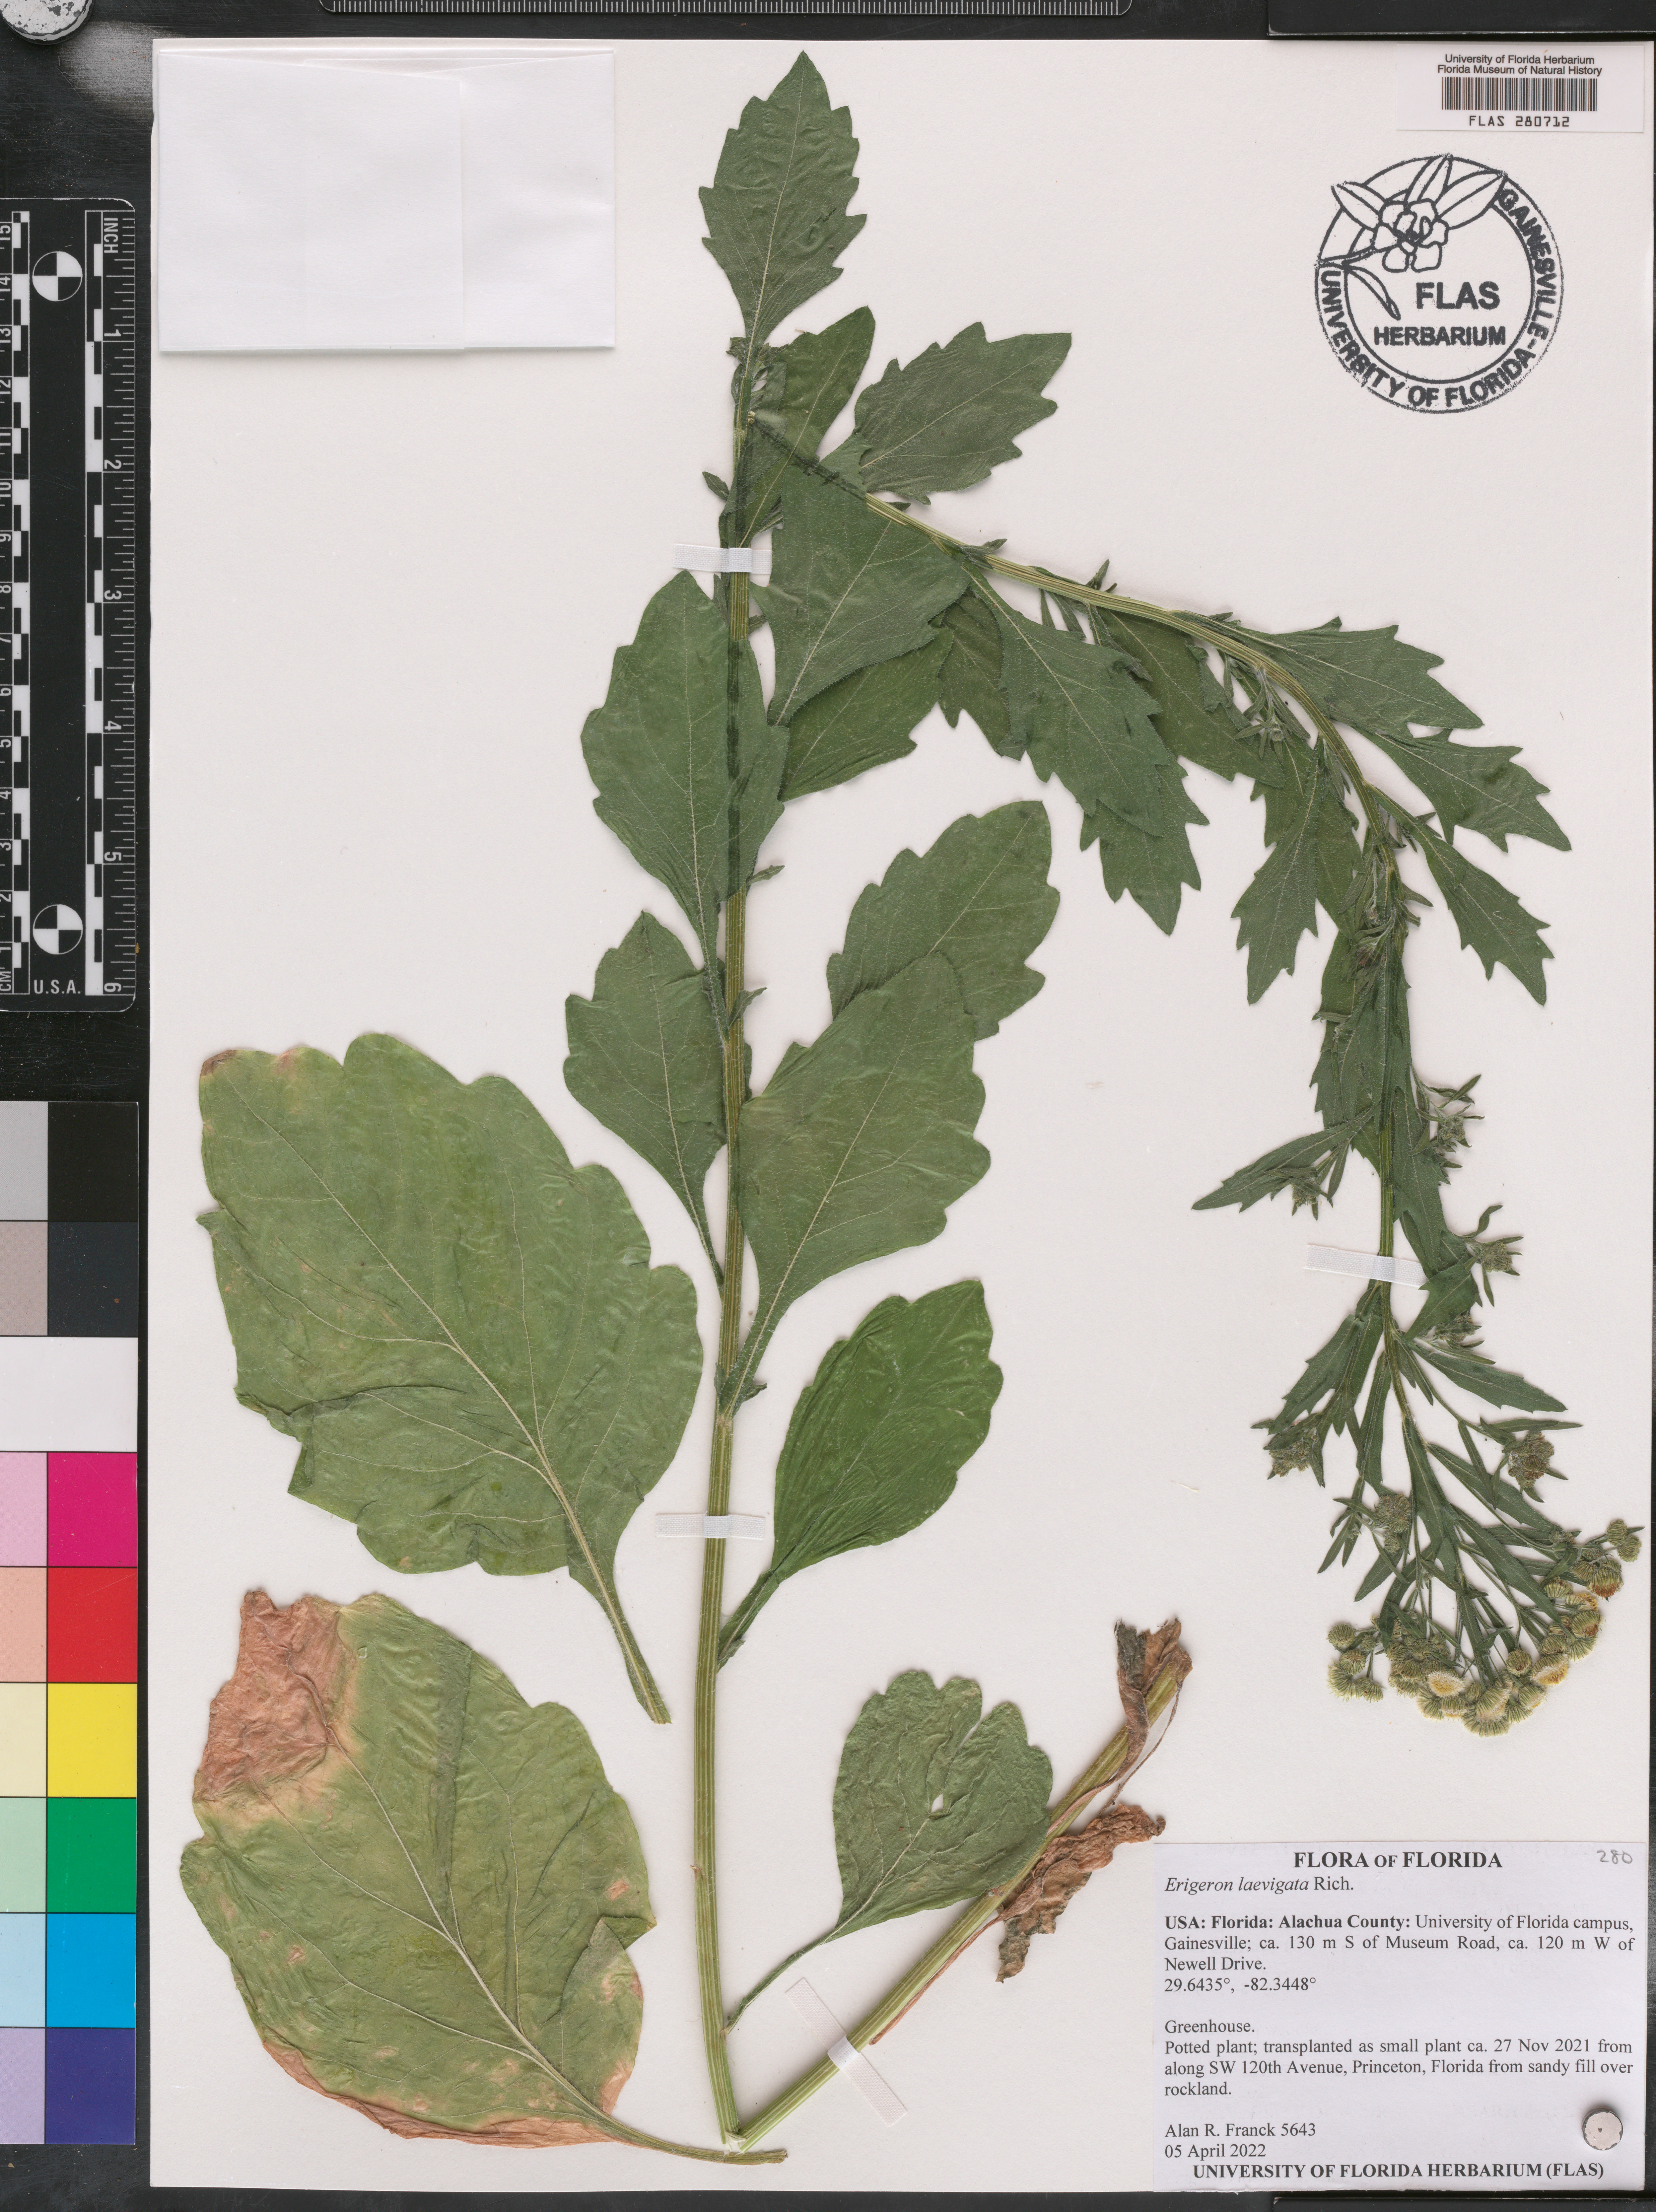
- Erigeron laevigata, cult. from wild source
Annotations
Specimens are frequently re-identified once the original label is prepared and/or the specimen has been mounted. These re-identifications are recorded on annotation slips. For more information on annotations, see: Annotation of Herbarium Specimens: Recommentations and Annotation of Type Specimens: Recommentations.
Mounting Herbarium Specimens
Mounting is the process of affixing a dried pressed plant and its label to a sheet of heavy paper. This provides physical support that allows the specimen to be handled and stored with a minimum of damage. Mounting methods and materials vary widely among herbaria. Most herbaria have their trained staff mount specimens with carefully selected archival materials. Do not mount your specimens before consultation with the depository herbarium.
Because herbarium specimens are intended for long-term study and storage, it is critical that that all supplies used for mounting be both durable and archival. Archival denotes materials that are free of acids and other compounds that may cause them or the specimen to degrade over time. Consequently, the mounting paper, label paper, packet paper, ink, glue, mounting strips, and storage folders should all be acid free and designed for long-term stability.
Prior to attachment, the specimen and its label are laid out on the paper to allow maximum observation of diagnostic features as well as the range of variation in vegetative structures, including both sides of the leaves. Plants are generally positioned in a life-like arrangement (that is, with roots or the lower stem toward the bottom of the sheet and flowers toward the top). When laying out the plant, be sure to leave space on the sheet for the specimen label, annotation labels, and institutional accession seal. A paper envelope or packet should also be attached to the sheet to contain any loose material (e.g. seeds) or fragments of the specimen that break off over time. Once the optimum arrangement of the specimen has been determined, it is attached to the sheet using a combination of glue and strips of gummed linen cloth tape. Glue is used to attach the larger portions of the plant, such as stems, large leaves, and fruits. Gummed linen mounting strips are then applied to reinforce portions of the plant that might be torn loose as the specimen is used. Large or bulky items may need to be sewn onto the sheet with a sturdy linen thread. The objective is to secure the specimen firmly to the mounting paper, while leaving some pieces of the plant loose enough to be removed if necessary. Excessive applications of glue that embed flowers and seeds on the sheet may make it impossible to observe diagnostic features or to remove samples,. The best way to learn proper mounting procedures is through hands-on training and practice with a variety of plant specimens.
The UF Herbarium Specimen Preparation Guide provides an illustrated step-by-step overview of the mounting methods used in the UF Herbarium.
Where to go for More Information
Publications
- Blanco, M.A., W.M. Whitten, D.S. Penneys, N.H. Williams, K.M. Neubig and L. Endara. 2006. A simple and safe method for rapid drying of plant specimens using forced-air space heaters. Selbyana 27(1): 83-87.
- Bridson, D. and L. Forman, eds. 1998. The Herbarium Handbook, 3rd ed. Royal Botanic Gardens, Kew, Great Britain.
- British Columbia Ministry of Forests. 1996. Techniques and procedures for collecting, preserving, processing and storing botanical specimens. Research Branch, British Columbia Ministry of Forests, Victoria, BC, Canada. Working Paper 18/1996.
- Croat, T.B. 1985. Collecting and Preparing Specimens of Araceae. Annals of the Missouri Botanical Garden 72(2): 252-458.
- DeWolf, G.P., Jr. 1968. Notes on making an herbarium. Arnoldia 28(8/9): 69-111.
- Fosberg, F.R. and M.-H. Sachet. 1965. Manual for tropical herbaria. Regnum Vegetabile, Vol. 39. International Bureau for Plant Taxonomy and Nomenclature, Utrecht, Netherlands.
- Haynes, R.R. 1984. Techniques for collecting aquatic and marsh plants. Annals of the Missouri Botanical Garden 71: 229-231.
- Holmgren, P.K., N.H. Holmgren and L.C. Barnett. 1990. Index Herbariorum: Part I: The Herbaria of the World. 8th ed. Regnum Vegetabile, Vol. 120. For International Association for Plant Taxonomy by New York Botanical Garden, Bronx, NY.
- Imes, R. 1990. The Practical Botanist. Simon and Schuster, New York.
- Leenhouts, P.W. 1968. A guide to the practice of herbarium taxonomy. Regnum Vegetabile, Vol. 58. International Bureau for Plant Taxonomy and Nomenclature of the International Association for Plant Taxonomy, Utrecht, Netherlands.
- Metsger, D.A. and S.C. Byers, eds. 1999. Managing the Modern Herbarium: An Interdisciplinary Approach. Published jointly by Society of the Preservation of Natural History Collections with The Royal Ontario Museum Centre for Biodiversity and Conservation Research, Washington, D.C.
- Smith, E.E., Jr. 1971. Preparing Herbarium Specimens of Vascular Plants. U.S.D.A. Agriculture Information Bulletin No. 348. Washington, D.C.
- Soderstrom, T.R. and S.M. Young. 1983. A guide to collecting bamboos. Annals of the Missouri Botanical Garden 70: 128-136.
Web Pages
- Fairchild Tropical Garden Collecting Guide
- Field Techniques Used by Missouri Botanical Garden
- Guide to Plant Collection and Identification by Jane M. Bowles, University of Western Ontario Herbarium (UWO), London, Ontario, Canada.
- Herbaria and Specimens: What are They? By Diana Horton of the extirpated University of Iowa Herbarium, which is now part of the Iowa State University Herbarium.